Have you ever reached into the dryer and pulled out your favorite sweater only to find that it has shrunk to fit only a small child? Forgot to check the label that reads "100% wool"? DON'T PANIC! And by all means, don't head for the landfill!!! It's time to try out a fashion flip that can repurpose your beloved sweater into something new, useful and fun, give it a second life and avoid contributing to one of the largest sources of waste in the world . . . . . . textile waste!
I'm going to show you how to use the simple technique of "felting" to create a durable, fabric from your already half shrunken 100% wool sweater . . . . . . a unique NEW PURSE that will quickly become your favorite go-to for many occasions!
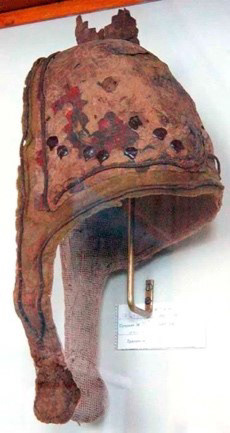
Let's talk a little about felting first. Felting of loose fibers dates back to Pre-6th Century BC, before even woven fabrics were created.
It is the process of "matting" or rubbing together protein fibers, which permanently tangles them to become a solid, durable, fabric with excellent cover and durability. Although felting is believed to have begun by using only loose fibers, one of several other techniques commonly used today is to weave, knit or crochet 100% wool yarns into an over-sized product, which is then felted to create a smaller, more tightly woven version of the product. This is accomplished by immersing the wool item in hot water and soap, then adding agitation . . . ..sound familiar? Yes, your washing machine is the perfect tool for this process!
It is the process of "matting" or rubbing together protein fibers, which permanently tangles them to become a solid, durable, fabric with excellent cover and durability. Although felting is believed to have begun by using only loose fibers, one of several other techniques commonly used today is to weave, knit or crochet 100% wool yarns into an over-sized product, which is then felted to create a smaller, more tightly woven version of the product. This is accomplished by immersing the wool item in hot water and soap, then adding agitation . . . ..sound familiar? Yes, your washing machine is the perfect tool for this process!
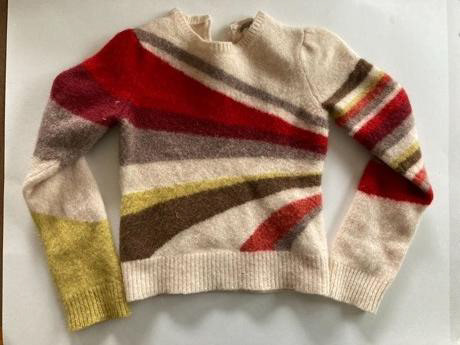
So, without further ado, grab your tiny shrunken sweater, rescue one from a friend before it hits the landfill or just scour your local thrift stores for a cast off, making certain that the fiber content is indeed 100% wool (or it won't work!).
HOW I REPURPOSED MY SHRUNKEN 100% WOOL GARMENT INTO
A 100% BIODEGRADABLE PURSE
A 100% BIODEGRADABLE PURSE
Supplies I used:
100% WOOL SWEATER
100% WOOL YARN AND YARN NEEDLE
100% COTTON EMBROIDERY THREAD
100% LINEN REMNANT FOR LINING
100% COTTON SEWING MACHINE THREAD
SCISSORS
PATTERN MAKING PAPER
RULER, CUTTING BOARD AND ROTARY CUTTING TOOL
100% WOOL YARN AND YARN NEEDLE
100% COTTON EMBROIDERY THREAD
100% LINEN REMNANT FOR LINING
100% COTTON SEWING MACHINE THREAD
SCISSORS
PATTERN MAKING PAPER
RULER, CUTTING BOARD AND ROTARY CUTTING TOOL
PREPARING YOUR SWEATER FOR CREATING YOUR PURSE
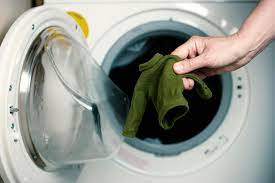
If your wool sweater has already been significantly shrunken and now has a thick, almost stiff hand, you can skip this step. If not, set your washer to the hottest water temperature available, "small load" and add some laundry soap. I prefer "Woolite" for felting. I like to put my item in a netted laundry bag (like what is used for lingerie) to allow for more concentrated agitation in the wash cycle. You may add other things you want to felt or old towels or jeans to increase the agitation, but be aware that some of the fibers from all of the items might migrate to each other, which can actually add to the beauty of your project, if so desired. I advise measuring your item before and after just for documentation sake and to help guide you in how many cycles of washing (it usually takes more than one) you need for your desired shrinkage and felting. The sweater in this tutorial shrank 2-3 inches in each direction with each wash.
NOTE: During the wash cycles, you can stop the machine and pull out your wool item to check on it and control the amount of shrinkage. You can also "shape" the wet wool if it becomes undesirably misshapen by pulling it back into shape WHILE IT'S WET. Also, you can stop the machine before the rinse cycle to check on the amount of shrinkage and restart it at the beginning of the wash cycle if more shrinkage is needed. This technique of running multiple wash cycles without allowing the water to drain saves water and soap!
Once you have run the wool sweater through enough wash cycles to achieve your desired result (mine took two full cycles), lay your sweater flat to air dry or tumble dry. Once dry, you can lay the sweater flat on your work table and plan out your purse design. You can work with its own shape in many creative ways to minimize waste, or cut it into pattern pieces to resew it into its new form. Keep any left-over cuttings for other felting projects! The following tutorial documents one example of how to create a purse, but use your creativity to create your own design. Also, keep in mind that you can add remnants of other felted wool or fabrics for pockets, and you can embellish the purse with needle felting or embroidery. I don't like to plan too much but instead prefer to create as I go, keeping an open mind for spontaneous designing.
CREATING THE PURSE
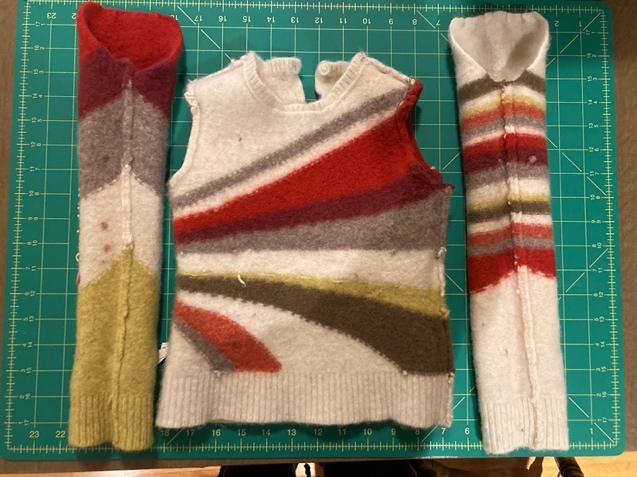
First, prepare the body of the purse. The first thing I did was use my rotary cutter and my cutting ruler to remove the sleeves and the yoke to begin forming the body of the purse.

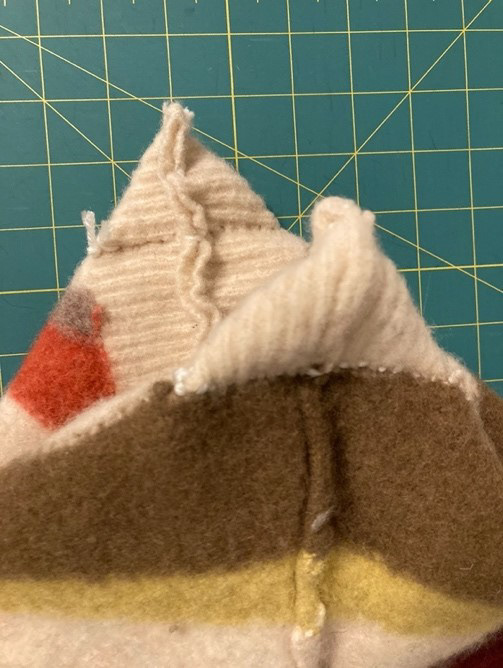
I then hand-sewed along the bottom of the sweater using 100% wool yarn just because I felt like it. This fabric will also take well to machine sewing with 100% cotton thread. You may opt to sew the corners as shown below if you want a squared base to your purse. (NOTE: I later decided to re-sew these seams using a sewing machine, as it gave the seams a sharper, cleaner finish).


PREPARING THE HANDLES FOR THE PURSE
The next step was to cut open the sleeves using my rotary cutter along the inside seam. I chose the sleeve with the smaller stripes thinking this would be an interesting choice for the handles. I lay the sleeve flat on the cutting board and cut it lengthwise in half so that I had the longest part of the sleeve (from the top of the shoulder to the wrist) to use when designing my purse handles. I then cut two even strips about 1.5” wide from the longest available portions.

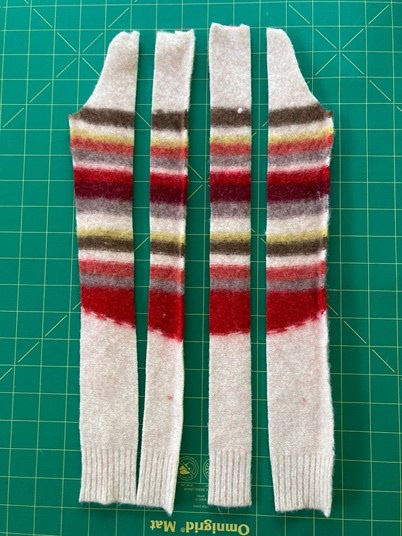
I used 100% cotton to crochet a “chain” to place down the middle of the straps to prevent the knitted wool sweater handles from stretching too much from the weight of items placed in the purse. The crochet chain serves as a slightly stretchable but stable inner cord to offer some “give” to the handles for comfort, with a stopping point to prevent stretching.

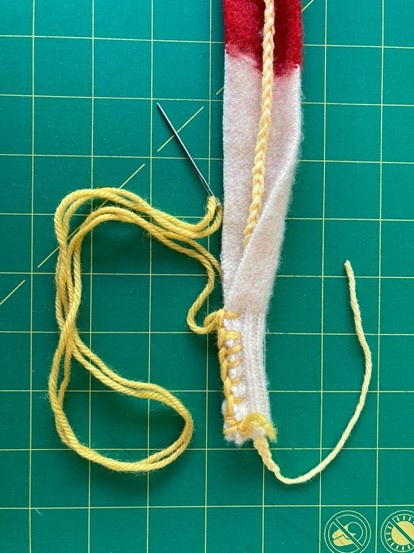
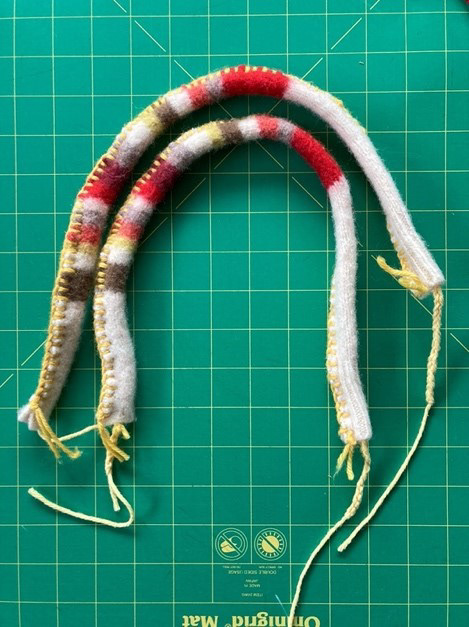
I made the crocheted cords slightly longer than the handles to ensure I would be able to secure them to the purse body (see later notes below). I then folded the sweater sleeve strips in half over the cords and used 100% wool yarn to sew them together using a “blanket stitch” for decorative purposes.
CREATING A LINING FOR THE BODY OF THE PURSE
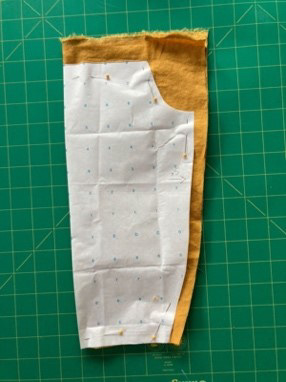
You may want to create a lining for your repurposed purse. I made mine from 100% linen fabric scraps from previous projects and used 100% cotton thread to ensure the entire purse is biodegradable.
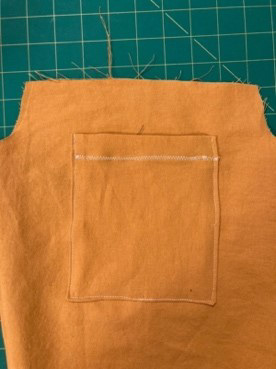
I first made a pattern following the shape of the purse body, sewed on a pocket for the interior of the purse, then sewed up the outside edges of the lining.
I first made a pattern following the shape of the purse body, sewed on a pocket for the interior of the purse, then sewed up the outside edges of the lining.
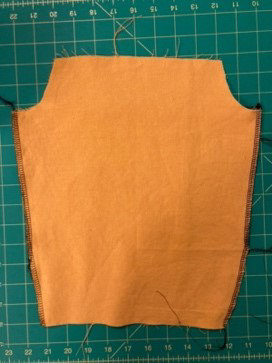
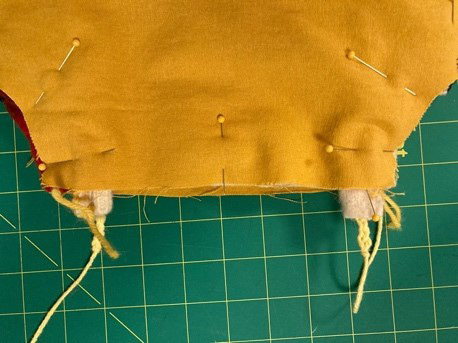
With the wool purse body’s “right side” facing outward, I slipped it into the lining so that the right side of the wool body faced the “right side” of the linen lining and pinned it in place.


I then pinned the handles in place between the two fabrics with the ends of the handle extending beyond the upper edge of the purse body and lining and sewed around the entire top of the purse securing the lining and the handles to the wool purse body.


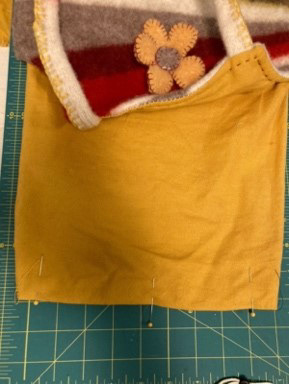
After turning the purse right sides out, I sewed along the bottom edge of the lining and tucked it into the purse. You can end the project here or add embellishments.
ADDING EMBELLISHMENTS
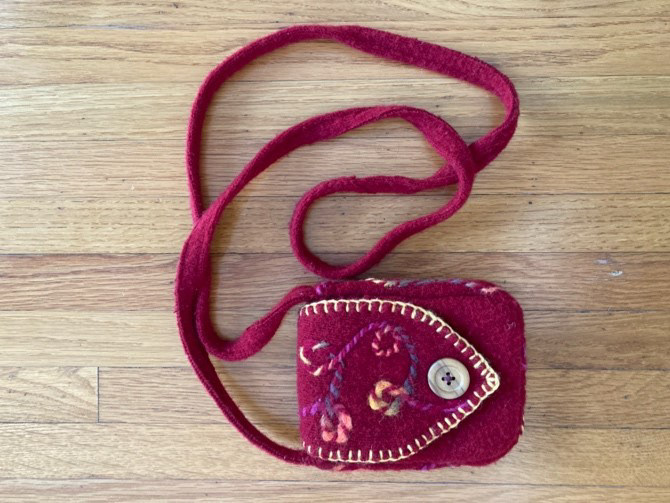
I chose to embellish the purse with scraps from the sweater and left-over embroidery floss from previous projects. I added some decorative stitching to the opening of the purse, created a flower “button” and tie for a closure.

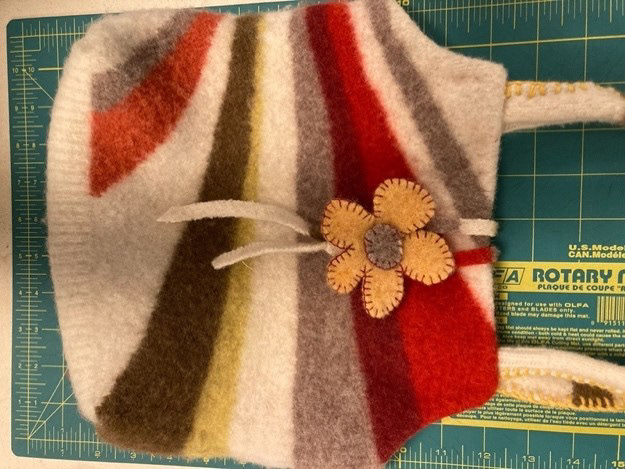

VOILA! A fully sustainable, biodegradable purse that avoided the land-fill as a cast off, shrunken sweater!
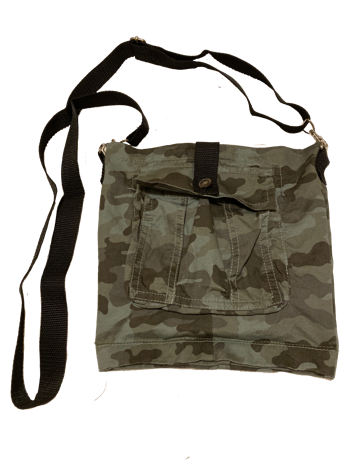
Here are a few more examples of purses I created from cast off sweaters, camo cargo shorts, and left over project supplies. The options are limitless, so have fun!